|
Modeling an N&W (or NS) High Hood SD40-2 Steps 006, 006A, 006B and 006C |
|
Step 006 |
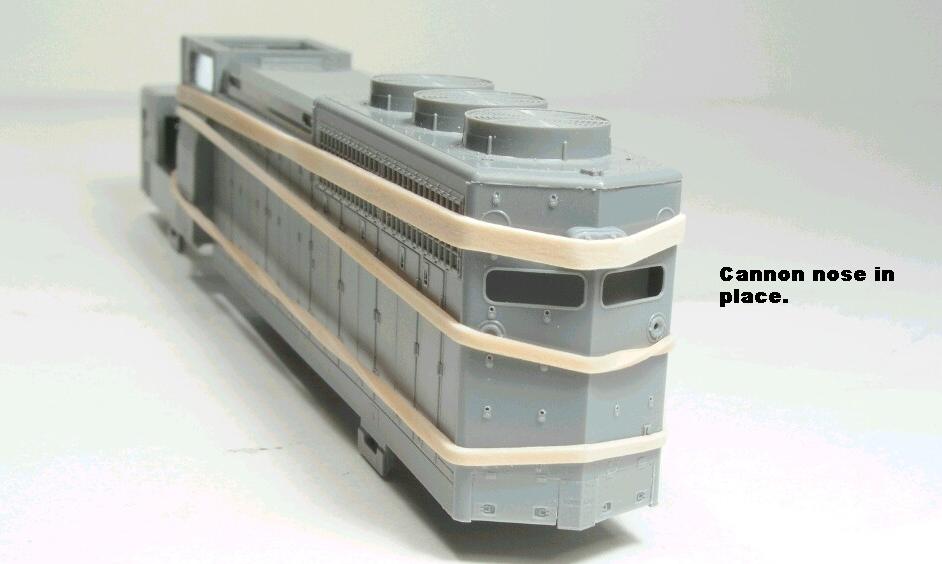
NOTE: This step is not mandatory as the Kato nose is a nice looking part and will do well as is when your model is complete. The only reason that I am changing the nose on the project model is to show others how it is done and what the Cannon part looks like when completed. Your choice.
|
Step 006A |

|
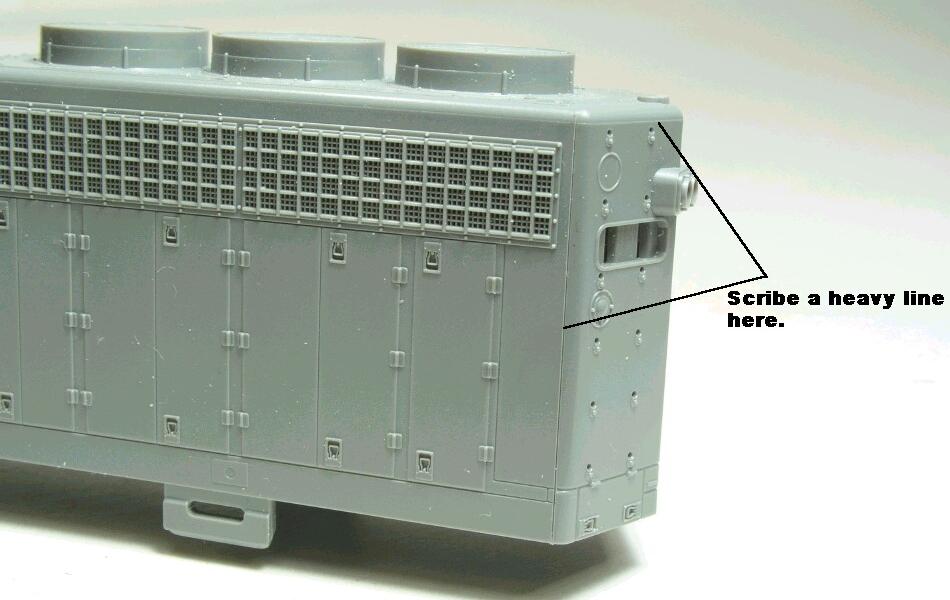
Step 006B |
|
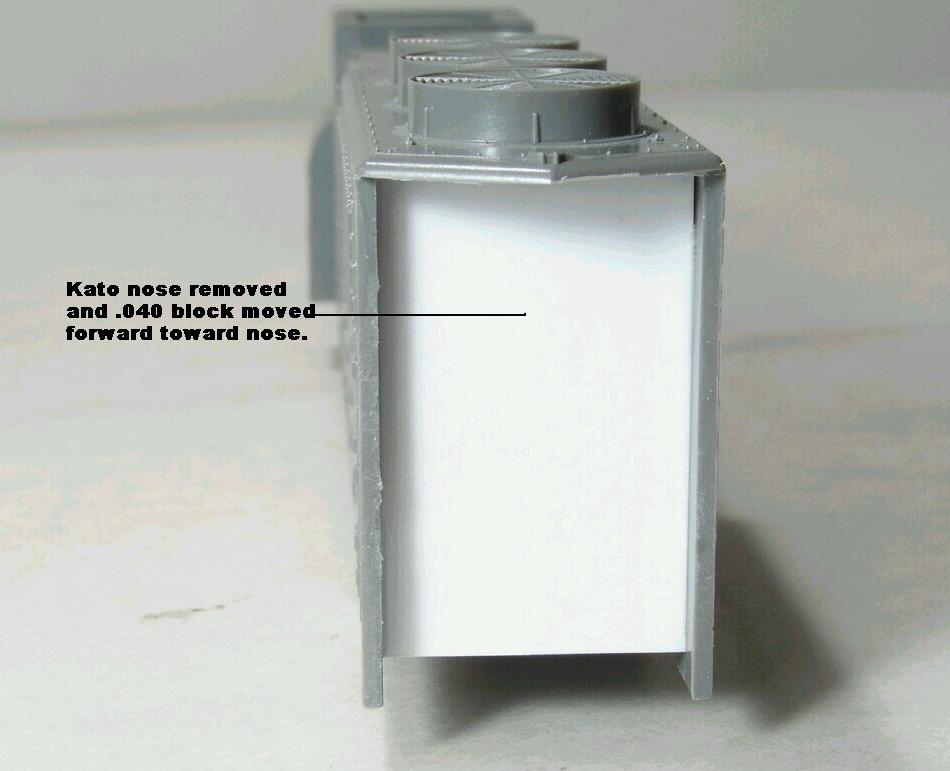
Step 006C |