Now that the cab, nose and battery boxes are in place and are completely dry, let's move to the topside of our unit and begin to replace the detail parts that we removed in previous steps.
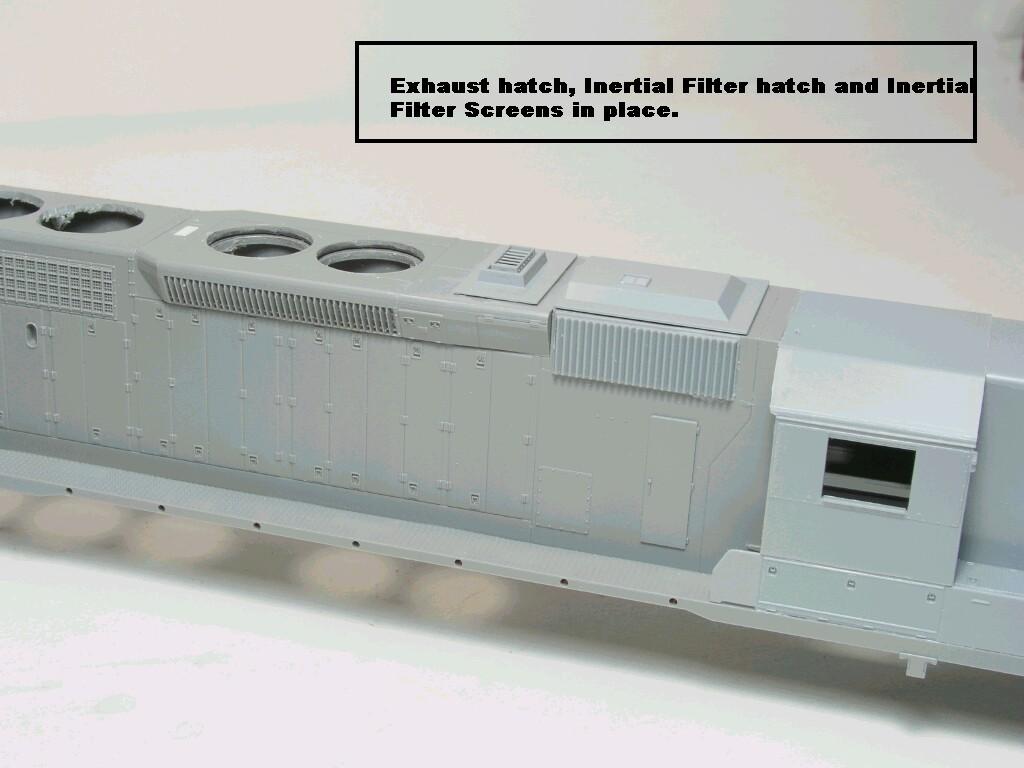
Following the instructions found on the Cannon packages, install the inertial filter screens and inertial filter hatch.
Following the instructions on the Cannon packages, build the exhaust hatch and install in place.
CAUTION: DO NOT glue the dynamic brake blister in place at this time as we need to do more work on the model before this part is permanently attached.