|
Modeling an N&W (or NS) High Hood SD40-2 Steps 016, 016A, 016B and 016C |
|
Introduction to Step 016 |
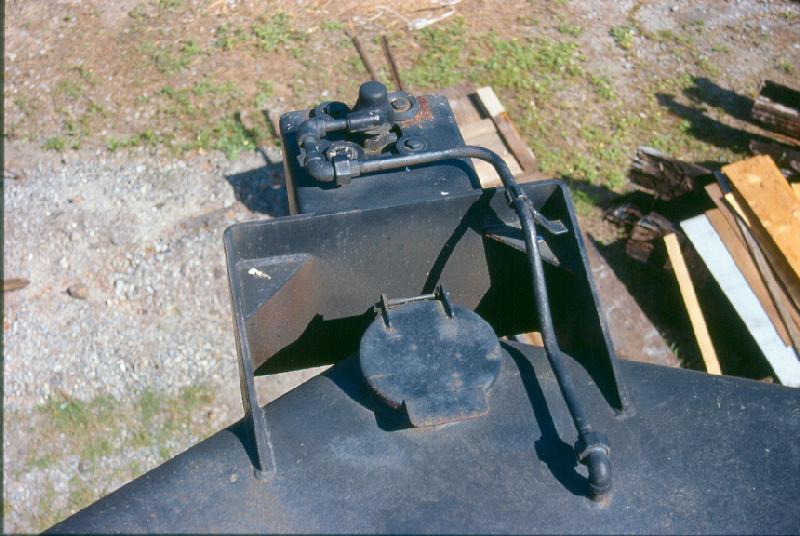
This is a down on shot of an EMD
high hood bell and it clearly shows how the inside of the bell mount should
appear. Many modelers think that the Details West bell is cast correctly from
the manufacturer and that it should be mounted just as it comes out of the
package, but this scan clearly shows that to be incorrect. With a little effort,
a bit of patience and a little time we will be able to modify the bell housing
as it should be.
|
Step 016 |

|
Step 016A |
|
Step 016B |
|
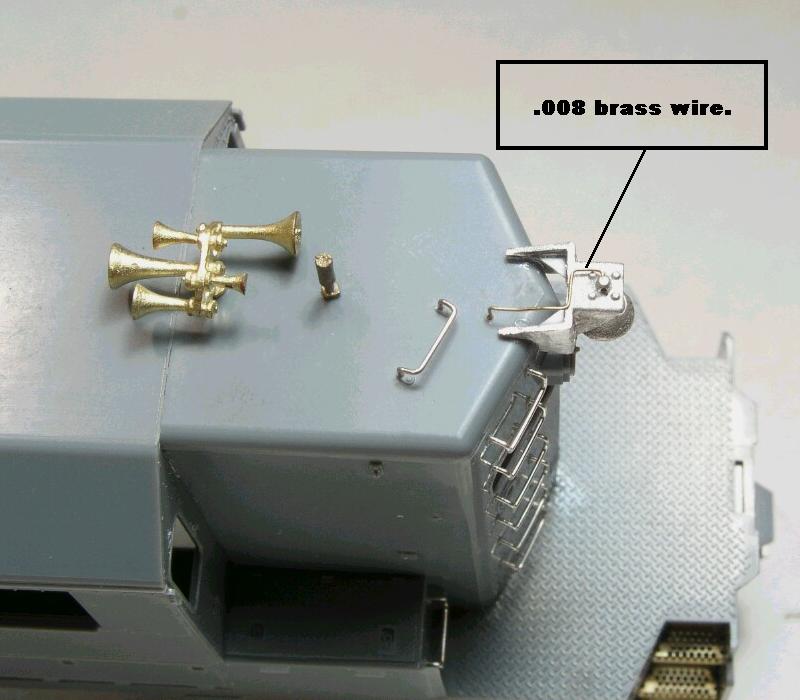
Step 016C |
Using Cyanopoxy or your favorite
ACC adhesive, mount the bell on the short hood end making sure that is centered
on the vee of the high nose and that the bell is parallel with the walkway. Cut
a short section of .008 brass wire and bend to simulate the air line from the
bell to the high hood roof. Glue in place and allow to dry.