|
Modeling an N&W (or NS) High Hood SD40-2 Steps 023 and 023A |
|
Step 023 |
Carefully remove each stanchion from it's
handrail set. I chose to use a new X-ACTO # 11 blade to cut mine as it does a
good job and cuts close. It's very important to keep the stanchions separate
from each other. Don't mix the ones from the long hood sides with the ones from
the short hood sides.
Next, carefully prick the center of each stanchion using a sharp needle. If you
somehow miss the middle on one side, flip the stanchion over and try to do
better on the other side. It's very important to come as close to the center as
you can or the handrails will rise and fall between the stanchions.
Next, carefully drill each stanchion using a sharp # 80 drill bit. Drill all of
the stanchions being careful not to allow the drill bit to wander from end to
end. NOTE: I realize this seems to be a daunting task, but just keep telling
yourself that there's just one more to go, there's just one more to go, there's
just one more to go. After all of your stanchions are drilled, redrill
each one using a #78 drill bit. This hole will allow the .015 brass wire to
float just enough so as not to allow the stanchions to bind on the brass wire as
you install them.
|
Step 023A |
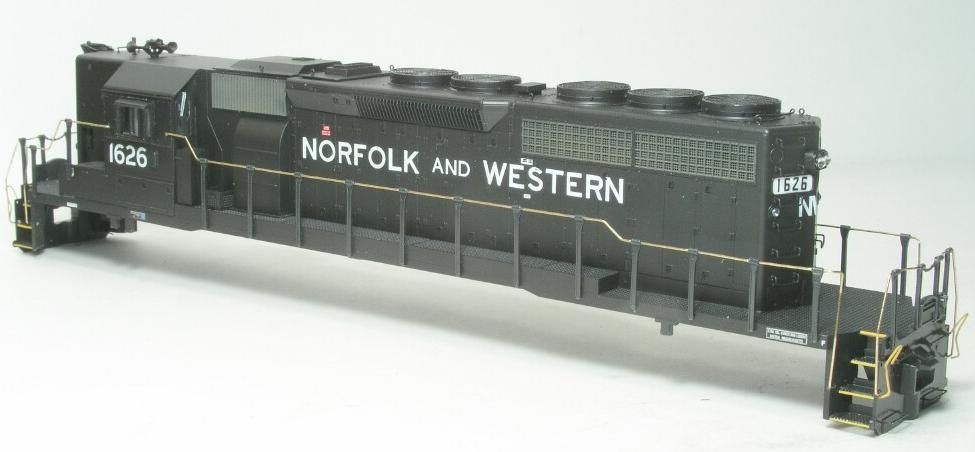
Next, using prototype photos of
the handrails, make the proper bends on the long hood end on one of the long
hood railings. Drill a # 78 hole in the correct location in the stepwell
where the railing enters the stepwell. Slide two end stanchions onto the
brass railing and install them into their proper holes. Next, mark the location
for the bend going into the stepwell using a 10/0 brush and a small dot of black
paint. Make the bends and then test for proper fit. If the rail bows out, it
needs to be shortened. If it bows down, it needs to be lengthened. Remember
this, a little goes a long way so work in small steps when making corrections.
Now, slide the remaining stanchions in place and make the proper bends according
to your photographs.
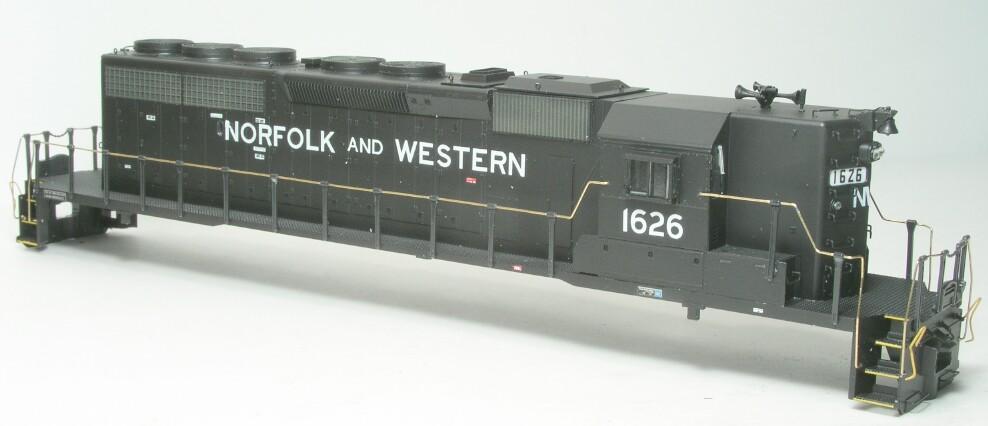
The remaining handrails and stanchions are installed the very same way. Just be
sure to work carefully and use patience when making your bends and when
installing the stanchions. We've come to far and done to much to get in a hurry
and make mistakes.