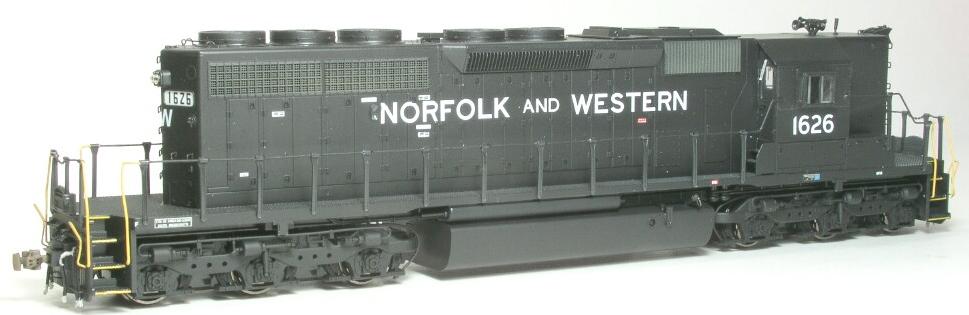
|
Modeling an N&W (or NS) High Hood SD40-2 Steps 024 and 024A |
|
Step 024 |
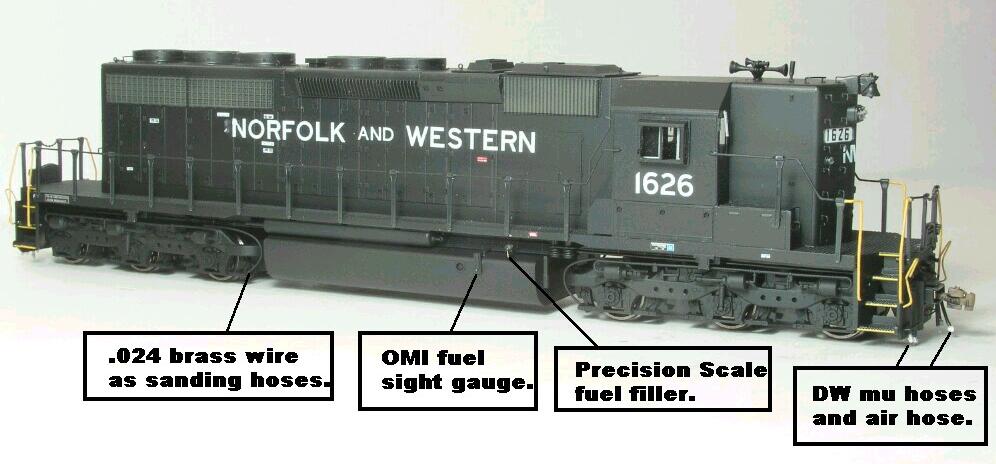
Carefully remove the truck sideframes and
install the .024 brass wire used as sanding hoses. Glue in place and allow to
dry. Next, paint each sideframe with your favorite shade of black and allow to
dry. Remove the tank, both sides, from the chassis, remove the kit gauge
and fuel filler and replace with the Overland fuel gauge and the Precision Scale
fuel filler as shown in the scan below. You may choose to use another brand of
for these parts, but these parts were my choices. Next, paint the tank
black and allow to dry.
|
Step 024A |
Next, using prototype photos of
the handrails, make the proper bends on the long hood end on one of the long
hood railings. Drill a # 78 hole in the correct location in the stepwell
where the railing enters the stepwell. Slide two end stanchions onto the
brass railing and install them into their proper holes. Next, mark the location
for the bend going into the stepwell using a 10/0 brush and a small dot of black
paint. Make the bends and then test for proper fit. If the rail bows out, it
needs to be shortened. If it bows down, it needs to be lengthened. Remember
this, a little goes a long way so work in small steps when making corrections.
Now, slide the remaining stanchions in place and make the proper bends according
to your photographs.
The remaining handrails and stanchions are installed the very same way. Just be
sure to work carefully and use patience when making your bends and when
installing the stanchions. We've come to far and done to much to get in a hurry
and make mistakes.